Saturday, May 8, 2021

Top freelance websites to find work or client

 1. Upwork - On this you can find the Talent and Work. This is one of the biggest remote work platform. 


Upwork


2. 99designs - This is a freelancing website for design work. 


99designs


3. Hubstaff Talent - Hubstaff Talent has a lot of startups, agencies, companies. 


Hubstaff Talent


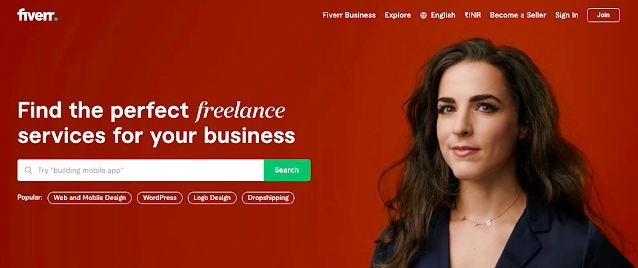
4. Fiverr - This has become popular among freelancers because of its unique system. Freelancer can showcase projects/work to public so clients can see your work and select you. 


Fiverr


5. Toptal - This is a freelance website to hire top s/w developers, experts, manager, designer in the world. 


Toptal


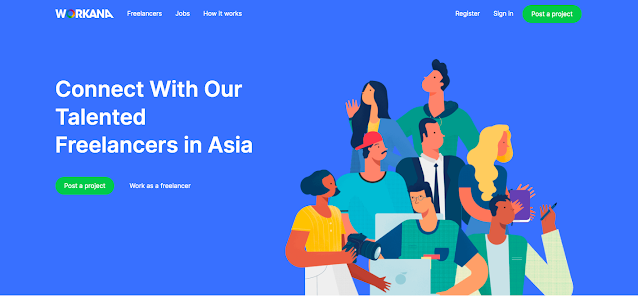
6. Workana - This is a freelancing website specifically for Asian. 


Workana


7. SimplyHired - With this you can search jobs for specific / nearby location.  


SimplyHired


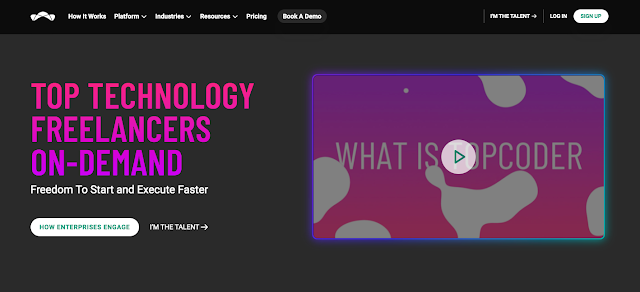
8. Topcoder - Here you can find work, apply and directly work with client. 


Topcoder


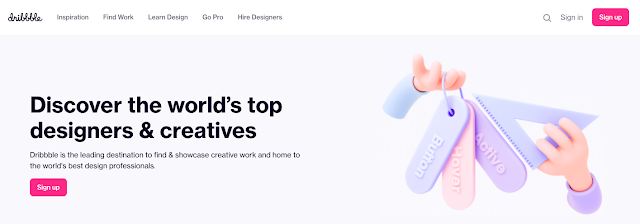
9. Dribbble - From here you can discover the world’s top designers & creatives. 


Dribbble


10. People Per Hour - You can find freelancers for your projects. 


People Per Hour


11. Guru 


Guru


12. College Recruiter  


College Recruiter


13. Aquent  


Aquent


14. Nexxt 


Nexxt


15. Writeraccess  


Writeraccess


16. Taskrabbit 


Taskrabbit


17. Flexjobs   


Flexjobs


18. Designhill 


Designhill


19. Outsource  


Outsource


20. Authentic jobs 


Authentic jobs


Monday, December 28, 2020

React Native Vector Icons

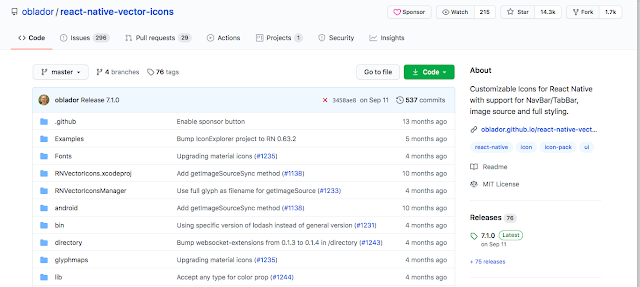
React Native Vector Icons is the best react native libraries to get icons. Here you can see the list of a lot of icons. You can use this for buttons, logos, and nav/tab bars. This is easily customizable. It has 3K+ icons.


Please review below git URL for more information 
(https://github.com/oblador/react-native-vector-icons) -


You can install this with the help of below command -
npm install --save react-native-vector-icons

Now please follow the instructions mentioned on below URL -
https://github.com/oblador/react-native-vector-icons#installation


How to apply - After successfully installation please follow the below steps -

Import below line -
import Icon from 'react-native-vector-icons/Ionicons';


Add icons on your view -
<Icon name="ios-person" size={20} color="#0BB4E4" />

here "ios-person" is the icon name.


Sharing some icons and their names which you can also find on below URL -
https://oblador.github.io/react-native-vector-icons/

stepforward, stepbackward, forward, banckward, caretright, caretleft, 
caretdown, caretup, rightcircle, leftcircle, upcircle, downcircle, 
rightcircleo, leftcircleo, upcircleo, downcircleo, verticleleft, 
verticleright, back, retweet, retweet, shrink, arrowsalt, doubleright,
doubleleft, arrowdown, arrowup, arrowright, arrowleft, down, up, right, 
left, minussquareo, minuscircle, minuscircleo, minus, pluscircleo, 
pluscircle, plus, infocirlce, infocirlceo, info, exclamation, 
exclamationcircle, exclamationcircleo, closecircle, closecircleo, 
checkcircle, checkcircleo, check, close, customerservice, creditcard, 
codesquareo, book, barschart, bars, question, questioncircle, 
questioncircleo, pause, pausecircle, pausecircleo, clockcircle, 
clockcircleo, swap, swapleft, swapright, plussquareo, frown, menufold, 
mail, link, areachart, linechart, home, laptop, star, staro, filter, 
meho, meh, shoppingcart, save, user, videocamera, totop, team, sharealt, 
setting, picture, phone, paperclip, notification, menuunfold, inbox, 
lock, qrcode, tags, tagso, cloudo, cloud, cloudupload, clouddownload, 
clouddownloado, clouduploado, enviroment, enviromento, eye, eyeo, 
camera, camerao, windows, export2, export, circledowno, circledown, hdd, 
ie, delete, enter, pushpino, pushpin, heart, hearto, smile-circle, 
smileo, frowno, calculator, chrome, github, iconfontdesktop, 
caretcircleoup, upload, download, piechart, lock1, unlock, windowso, 
dotchart, barchart, codesquare, plussquare, minussquare, closesquare, 
closesquareo, checksquare, checksquareo, fastbackward, fastforward, 
upsquare, downsquare, leftsquare, rightsquare, rightsquareo, 
leftsquareo, down-square-o, up-square-o, play, playcircleo, tag, tago, 
addfile, folder1, file1, switcher, addfolder, folderopen, search1, 
ellipsis1, calendar, filetext1, copy1, jpgfile1, pdffile1, exclefile1, 
pptfile1, unknowfile1, wordfile1, dingding, dingding-o, mobile1, 
tablet1, bells, disconnect, database, barcode, hourglass, key, flag, 
layout, printer, USB, skin, tool, car, addusergroup, carryout, 
deleteuser, deleteusergroup, man, isv, gift, idcard, medicinebox, 
redenvelopes, rest, Safety, wallet, woman, adduser, bank, Trophy, 
loading1, loading2, like2, dislike2, like1, dislike1, bulb1, rocket1, 
select1, apple1, apple-o, android1, android, aliwangwang-o1, 
aliwangwang, pay-circle1, pay-circle-o1, poweroff, trademark, find, 
copyright, sound, earth, wifi, sync, login, logout, reload1, message1, 
shake, API, appstore-o, appstore1, scan1, exception1, contacts, 
solution1, fork, edit, form, warning, table, profile, dashboard, 
indent-left, indent-right, menu-unfold, menu-fold, antdesign, 
alipay-square, codepen-circle, google, amazon, codepen, facebook-square, 
dropbox, googleplus, linkedin-square, medium-monogram, gitlab, 
medium-wordmark, QQ, skype, taobao-square, alipay-circle, youtube, 
wechat, twitter, weibo, HTML, taobao-circle, weibo-circle, weibo-square, 
CodeSandbox, aliyun, zhihu, behance, dribbble, dribbble-square, 
behance-square, file-markdown, instagram, yuque, slack, slack-square

Saturday, December 26, 2020

Best React Native Libraries and Component

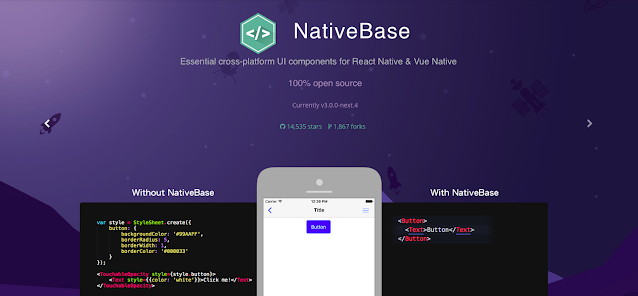
 1. NativeBase - This provides great UI components for React Native and Vue Native apps. This also supports platform specific design. This is a fully open source. It provides some build-in paid/free themes which are available on its market place

NativeBase


2. Teaset - This is a UI library to React Native apps, it gives us 20+ pure JS(ES6) components, focusing on content display and action control. You can find more details on Github.

Teaset


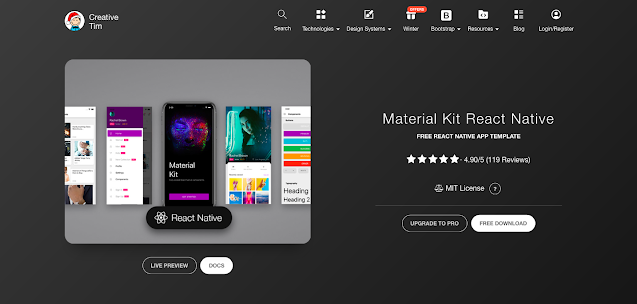
3. Material Kit React Native - This provides free React Native Apps templates. This provides a large number of components and cards. This has a lot of components to build a great UI of your app. It provides pixel perfect screens. You can view the documentation on this link - https://demos.creative-tim.com/material-kit-react-native/docs/?_ga=2.234190430.1994806609.1608998238-98775155.1608998238#/. 

Material Kit React Native


4. React Native Elements - This is easy to use and supports Expo too. We can also easily customize it's components. Some components names are below -

Avatar, Badge, BottomSheet, Button, ButtonGroup, Card, CheckBox, Divider, Header, HTML style headings, Icon, Image, Input, ListItem, Overlay, Pricing, Rating, SearchBar, Slider, Social Icons / Social Icon Buttons, Tile, Tooltip

React Native Elements


5. Lottie for React Native - This is a good library to add animations into the Apps. 

Lottie for React Native


Sunday, August 11, 2019

ITMS-90338: Non-public API usage - The app references non-public selectors in _setAlwaysRunsAtForegroundPriority


I got below email from apple - 

Dear Developer,
We identified one or more issues with a recent delivery for your app, 
"-------". Please correct the following issues, then 
upload again.
ITMS-90338: Non-public API usage - The app references non-public 
selectors in ----: _setAlwaysRunsAtForegroundPriority:. If method names 
in your source code match the private Apple APIs listed above, altering 
your method names will help prevent this app from being flagged in 
future submissions. In addition, note that one or more of the above APIs 
may be located in a static library that was included with your app. If 
so, they must be removed. If you think this message was sent in error 
and that you have only used Apple-published APIs in accordance with the 
guidelines, send the app's Apple ID, along with detailed information 
about why you believe the above APIs were incorrectly flagged, to 
appreview@apple.com. For further information, visit the Technical 
Support Information at http://developer.apple.com/support/technical/
Best regards,
The App Store Team


Solution - This mostly comes with ionic / Cordova / Phonegap / Hybrid Apps. Please follow the below steps to solve this issue -
  
Stpe 1 -
cordova plugin rm cordova-plugin-ionic-webview

Stpe 2 -
cordova plugin add cordova-plugin-ionic-webview@4.1.0

This solved my problem. Hope so this will also work for you. If you have any questions related with this you can post a comment here.

Saturday, June 8, 2019

How to add slider in flutter


You can add slider in flutter with the help of “intro_slider” plugin. To integrate this please follow below steps -


Add below line in your pubspace.yam file -

dependencies:
  intro_slider: ^2.2.0


Now click on “Package get” option from top section to get this package in your app.


Now, Import below package in your file -

import 'package:intro_slider/intro_slider.dart';


Note - Make sure to add your images in pubspace.yaml file like this -

assets:
  - assets/images/photo_eraser.png
  - assets/images/photo_pencil.png
  - assets/images/photo_ruler.png


Slider images for Android and iOS


Create a new class as below -

import 'package:flutter/material.dart';
import 'package:intro_slider/dot_animation_enum.dart';
import 'package:intro_slider/intro_slider.dart';
import 'package:intro_slider/slide_object.dart';


class TutorialScreen extends StatefulWidget{

  TutorialScreen({Key key}) : super(key: key);

  @override
  TutorialScreenState createState() => new TutorialScreenState();

}


class TutorialScreenState extends State<TutorialScreen>{
  List<Slide> slides = new List();

  @override
  void initState() {
    super.initState();

    slides.add(
      new Slide(
        title: "ERASER",
        description: "Allow miles wound place the leave had. To sitting subject no improve studied limited",
        pathImage: "assets/images/photo_eraser.png",
        backgroundColor: Color(0xfff5a623),
      ),
    );
    slides.add(
      new Slide(
        title: "PENCIL",
        description: "Ye indulgence unreserved connection alteration appearance",
        pathImage: "assets/images/photo_pencil.png",
        backgroundColor: Color(0xff203152),
      ),
    );
    slides.add(
      new Slide(
        title: "RULER",
        description:
        "Much evil soon high in hope do view. Out may few northward believing attempted. Yet timed being songs marry one defer men our. Although finished blessing do of",
        pathImage: "assets/images/photo_ruler.png",
        backgroundColor: Color(0xff9932CC),
      ),
    );
  }

  void onDonePress() {
    // Do what you want
  }

  @override
  Widget build(BuildContext context) {
    return new IntroSlider(
      slides: this.slides,
      onDonePress: this.onDonePress,
    );
  }

}


Now call this from your main.dart file by using below code -

class MyApp extends StatelessWidget {
  // This widget is the root of your application.
  @override
  Widget build(BuildContext context) {
    return MaterialApp(
      title: 'Flutter Demo',
      theme: ThemeData(
        primarySwatch: Colors.blue,
      ),
      home: TutorialScreen(),
      debugShowCheckedModeBanner: false
    );
  }
}


This plugin have many options you can check all available options on below urls -


How to change project name in flutter


Solution for Android -

This is very simple in flutter, If you want to change the project name which will display on the mobile app. First, open your project in android studio or in any editor and then navigate to android/app/src/main/AndroidManifest.xml 


After this, you have to change the label value in AndroidManifest.xml  for android:label 

<application
    android:name="io.flutter.app.FlutterApplication"
    android:label=“APP Name”
    android:icon="@mipmap/ic_launcher">


Just replace “APP Name” with your app name. Now run your project in android simulator/device. 
Note - If changes are not updating then please uninstall your existing build and install again.


Solution for iOS - To update app name in iOS you just need to navigate on below location - 

ios/Runner/Info.plist


Now search for “CFBundleName” in Info.plist file and replace its value with your app name. Please check below example - 

<key>CFBundleName</key>
<string>APP Name</string>

Now, Run the app in simulator/Device. This will update your app name.

Note - Same as Android if the app name is not updating then please uninstall your existing build and install again.


This will update the app name for both (Android and iOS).